1906 Baldwin 58" Upright Piano s/n 13772 w Matching Bench (browse pictures below)
![](https://www.pianosnthings.com/images/baldwin.jpg) 
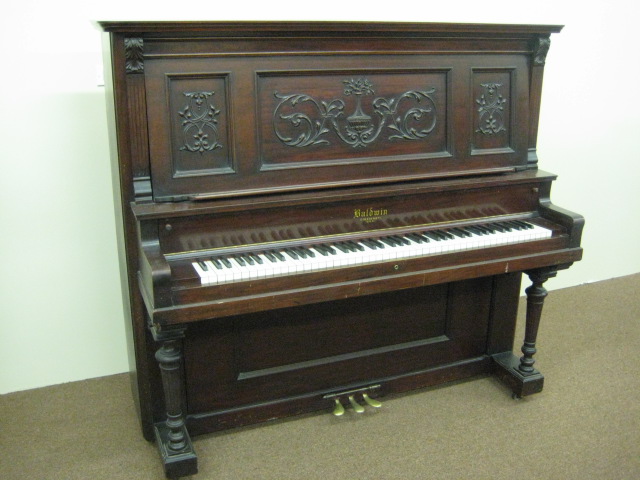
This piano was in very good original shape to begin with - a good candidate for restoration Original finish, brass pedals and hinges, Stately ornate design, straight case (no veneer issues) Original duet length 36" long bench will be repaired and refinished. Ivories will be polished.
![](https://www.pianosnthings.com/images/baldwin13772_02.JPG)
![](https://www.pianosnthings.com/images/baldwin13772_03.JPG) 
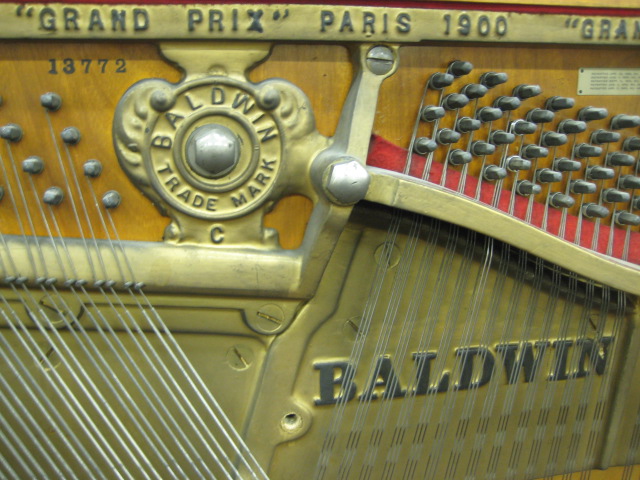
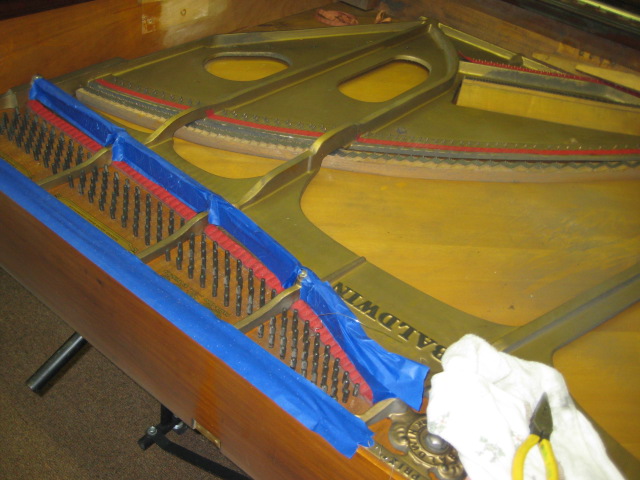
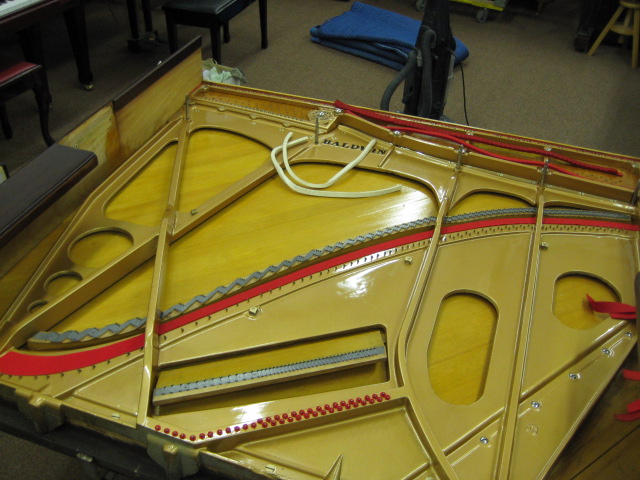
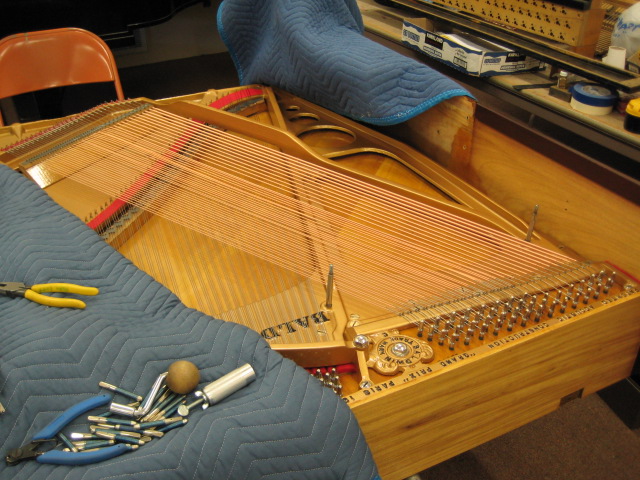
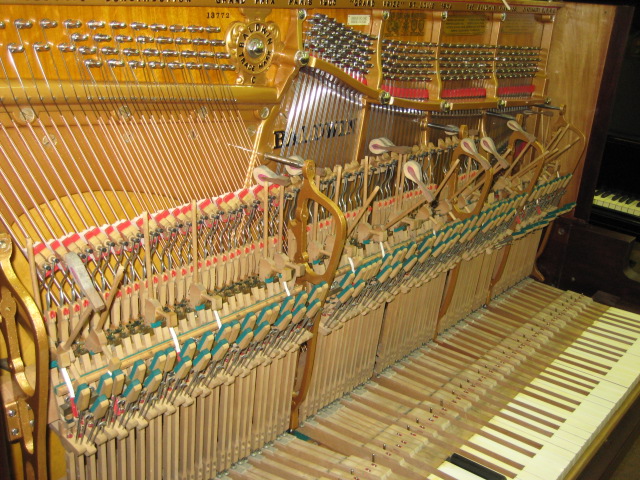
Notice the 2 different colors of bass strings - Copper and Steel - common in old Baldwins No one uses steel bass strings any more.
![](https://www.pianosnthings.com/images/baldwin13772_04.JPG) 
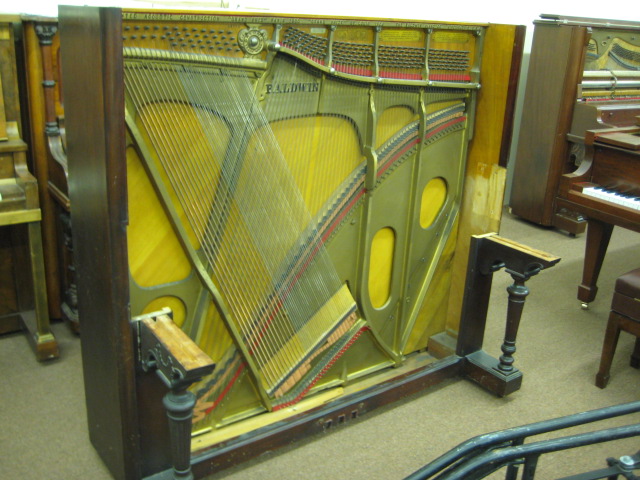
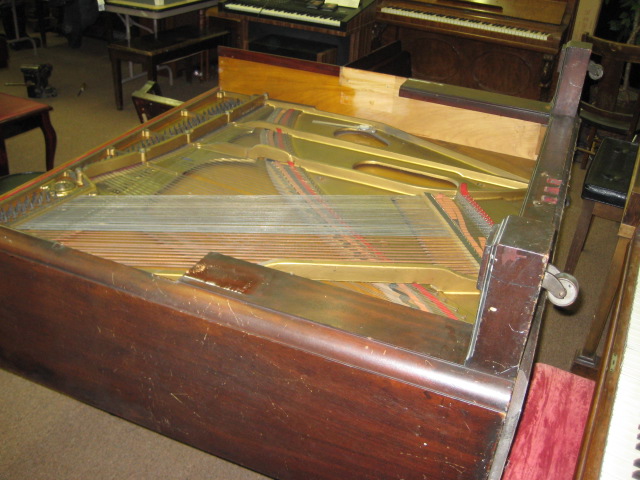
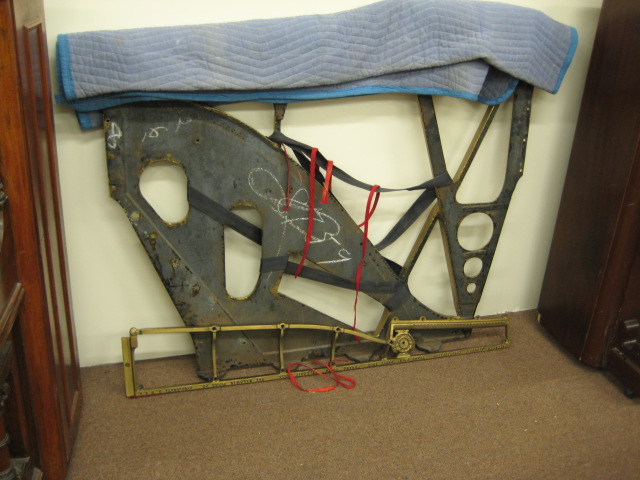
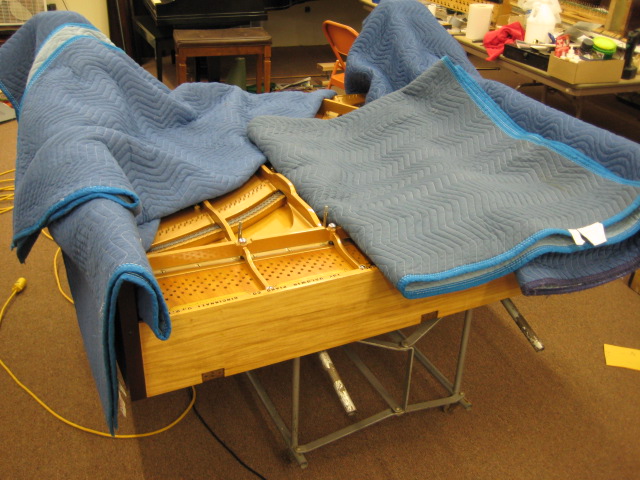
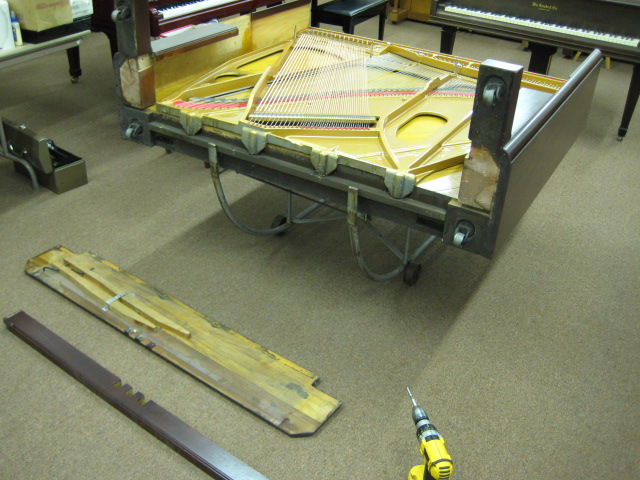
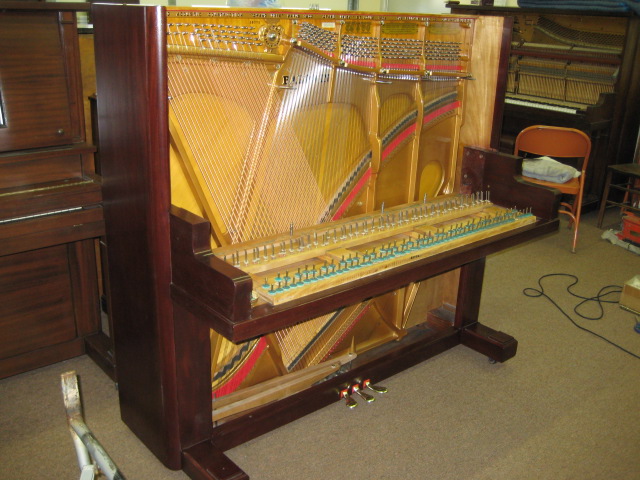
piano action and keybed removed from upright frame in order to remove iron plate
![](https://www.pianosnthings.com/images/baldwin13772_05.JPG) 
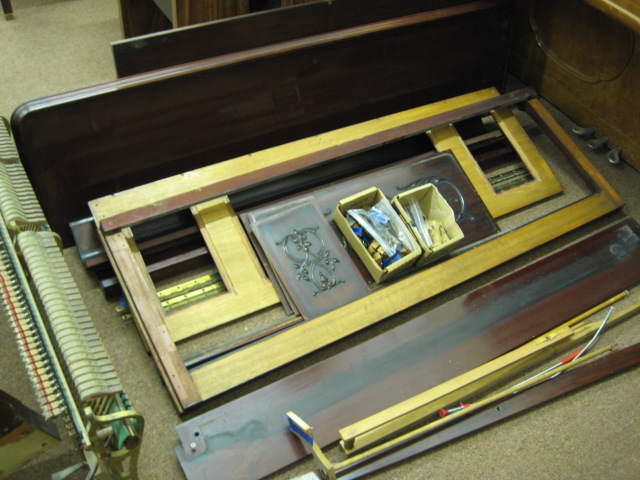
parts are removed and disassembled for refinishing - hardware removed
![](https://www.pianosnthings.com/images/baldwin13772_06.JPG)
![](https://www.pianosnthings.com/images/baldwin13772_08.JPG)
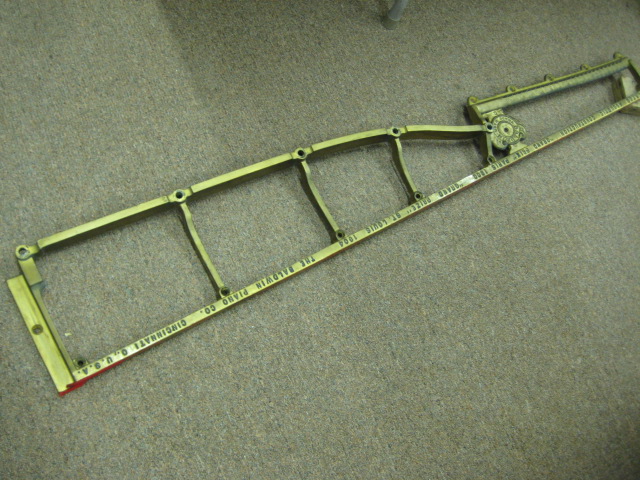
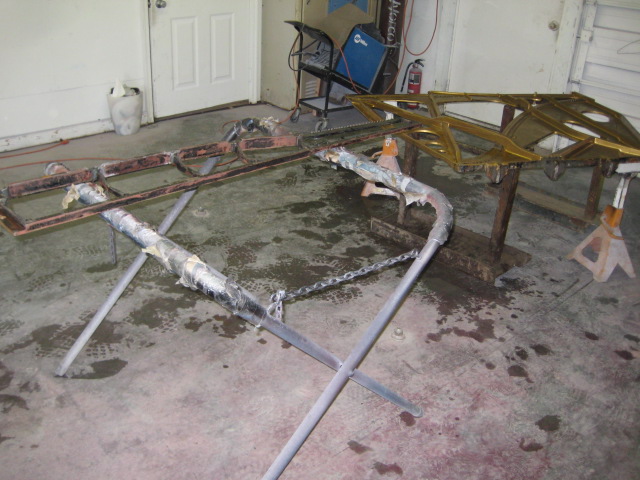
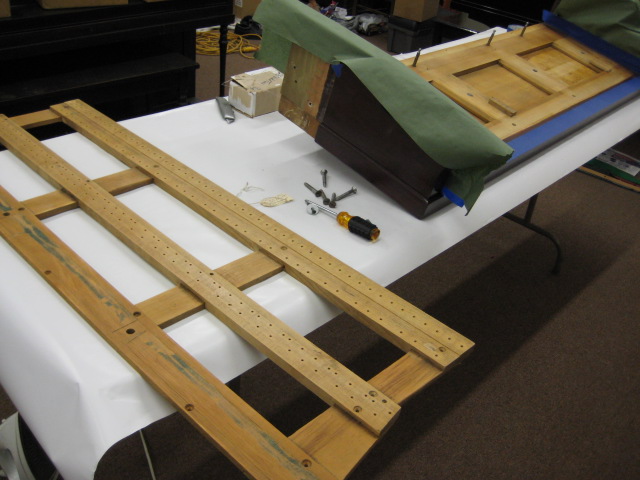
Need to remove bottom of piano, pedals board, and legs. 
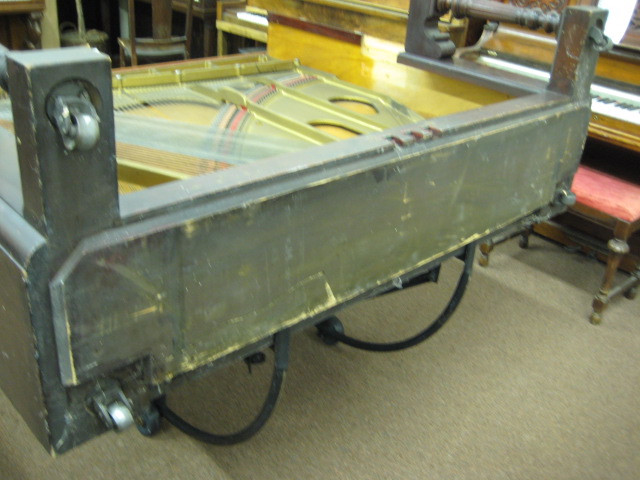
Piano on rollback dolly.
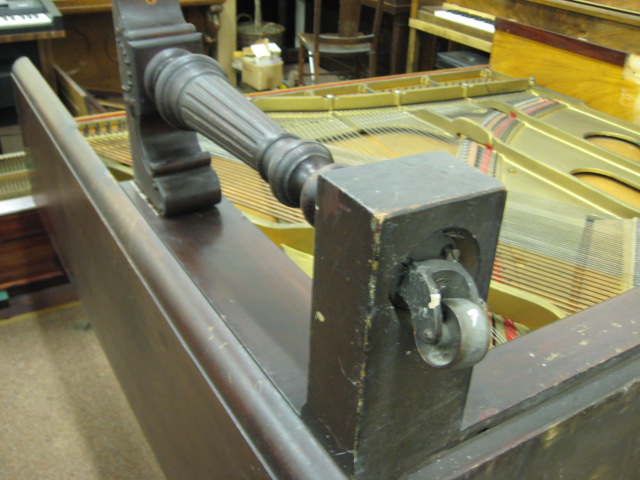
Must pull the caster to get to the bottom leg screw.
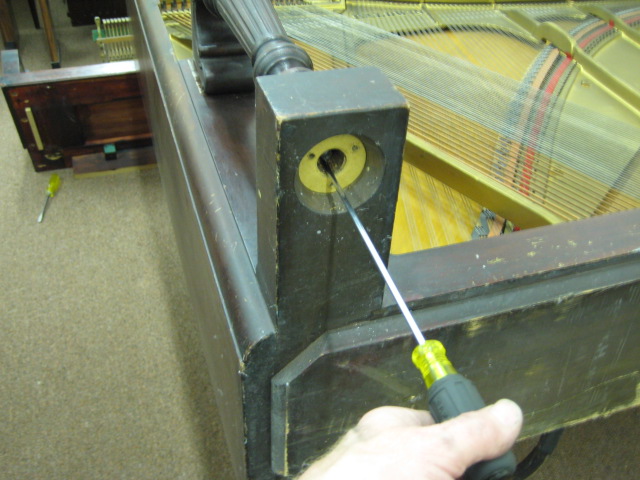
![](https://www.pianosnthings.com/images/baldwin13772_10.JPG)
![](https://www.pianosnthings.com/images/baldwin13772_11.JPG) legs removed
![](https://www.pianosnthings.com/images/baldwin13772_12.JPG) 
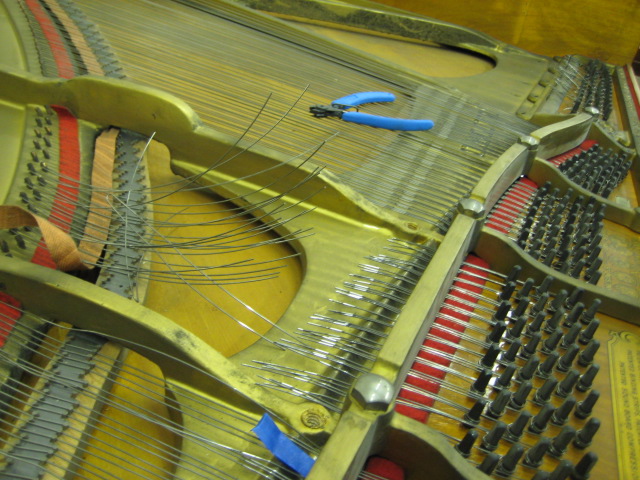
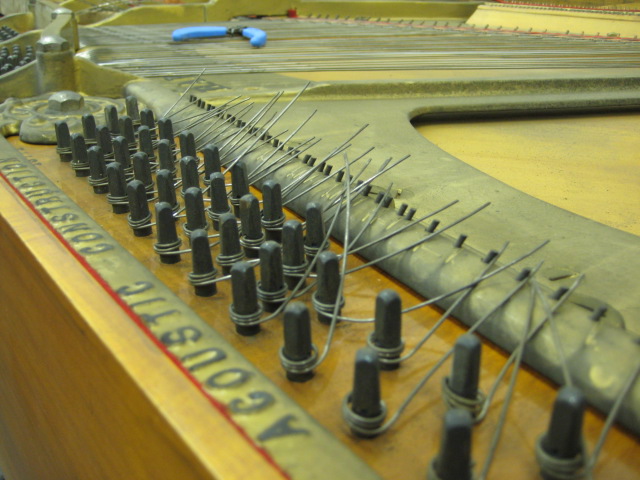
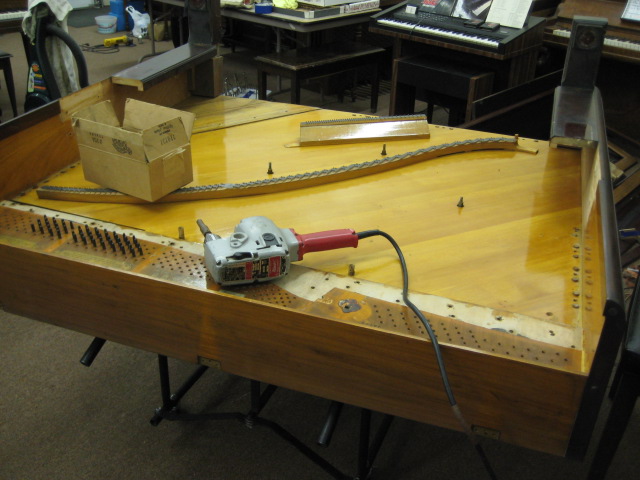
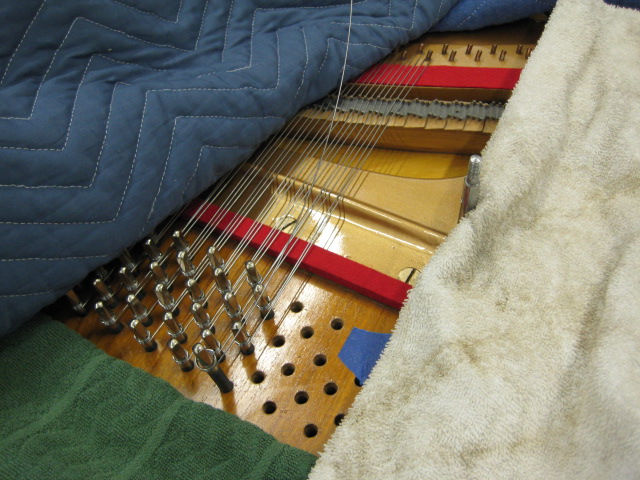
removing treble strings & tubby old bass strings
![](https://www.pianosnthings.com/images/baldwin13772_13.JPG) treble strings thickness meausred (8 different thicknesses of treble wire in this piano)
![](https://www.pianosnthings.com/images/baldwin13772_14.JPG) 
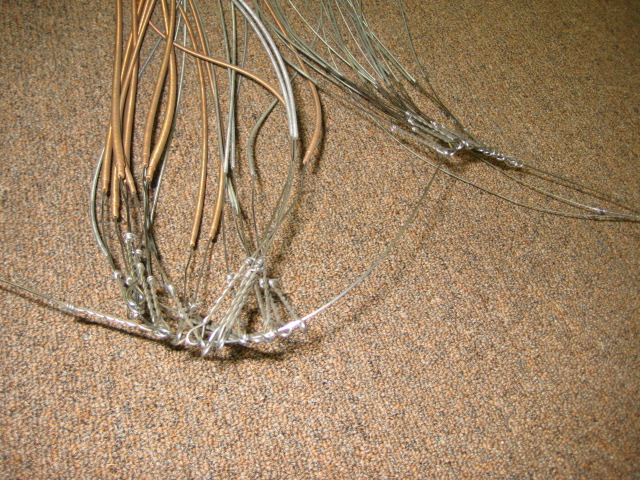
bass strings kept in order for duplication shop
![](https://www.pianosnthings.com/images/baldwin13772_15.JPG) 
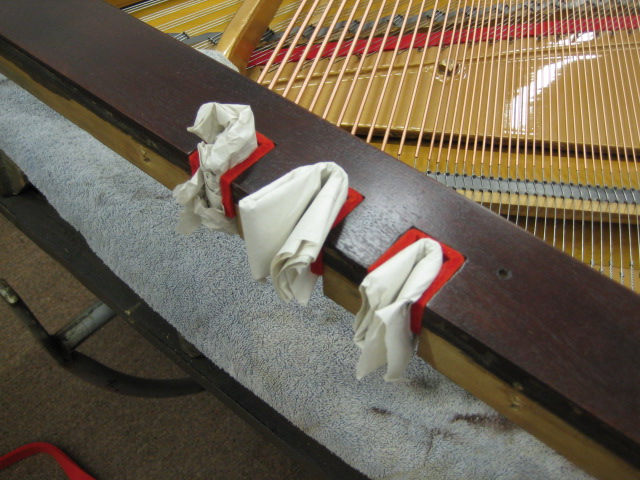
used tape to keep strings from scratching the iron plate
![](https://www.pianosnthings.com/images/baldwin13772_16.JPG)
![](https://www.pianosnthings.com/images/baldwin13772_17.JPG) 
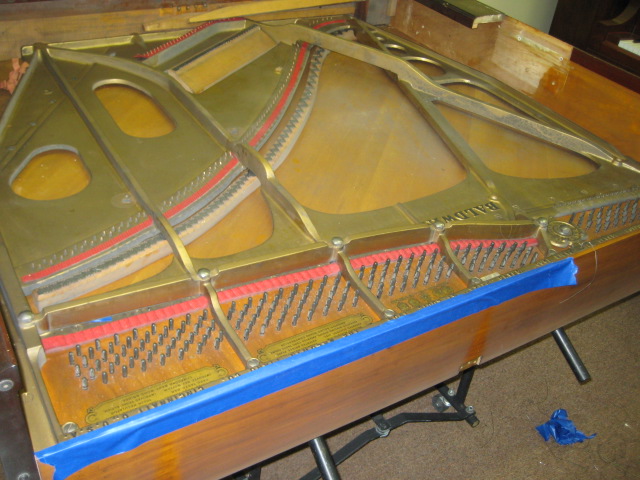
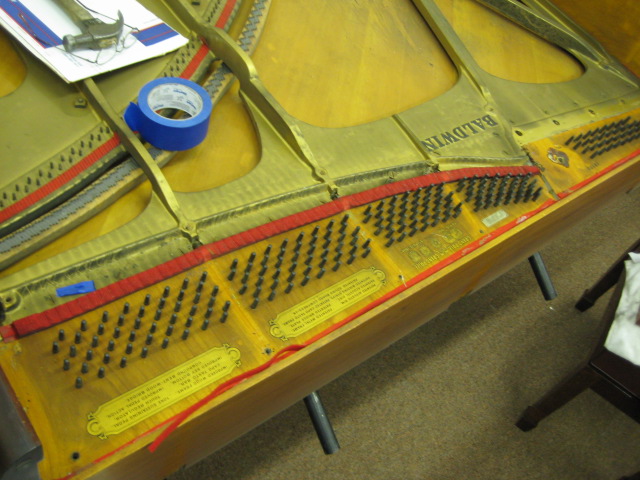
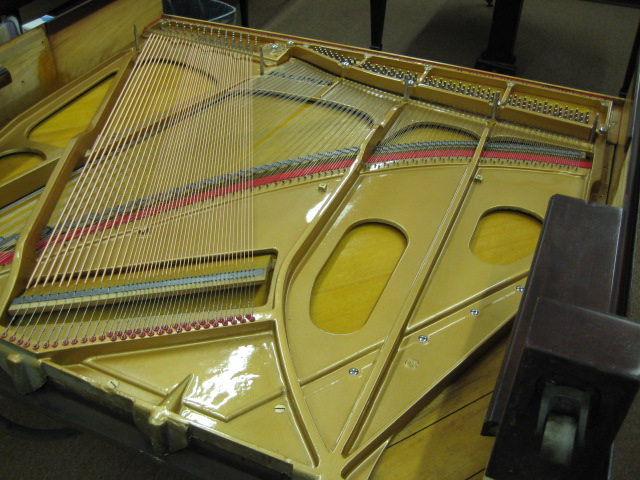
upper plate section removed from tuning pin block
![](https://www.pianosnthings.com/images/baldwin13772_18.JPG)
![](https://www.pianosnthings.com/images/baldwin13772_19.JPG)
![](https://www.pianosnthings.com/images/baldwin13772_21.JPG) 
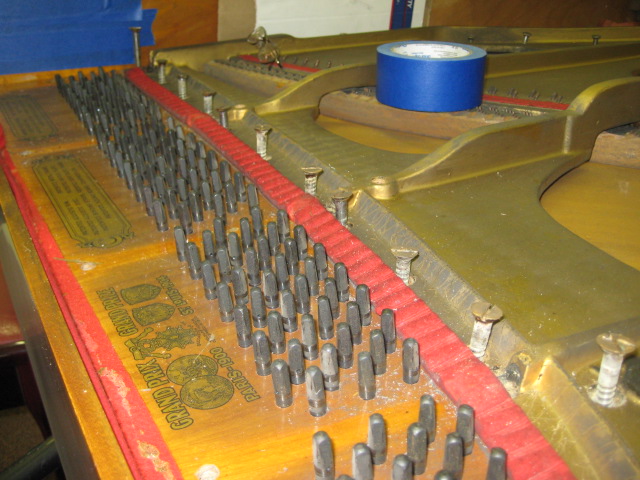
heavy iron plate removed - ready to be moved to refinish shop
![](https://www.pianosnthings.com/images/baldwin13772_22.JPG)
![](https://www.pianosnthings.com/images/baldwin13772_23.JPG) 
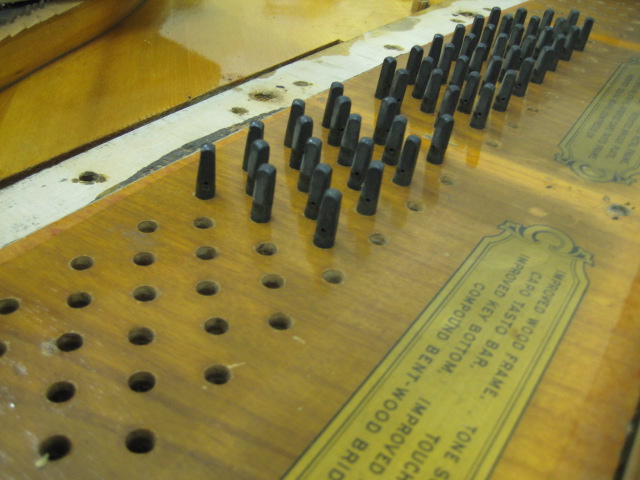
old "blued" tuning pins removed - new tuning pins will be nickel plated
![](https://www.pianosnthings.com/images/baldwin13772_24.JPG) ready for refinish shop
Old finish being removed from plate. Smoothing repairs being made before new finish.
![](https://www.pianosnthings.com/images/baldwin13372_26.JPG) 
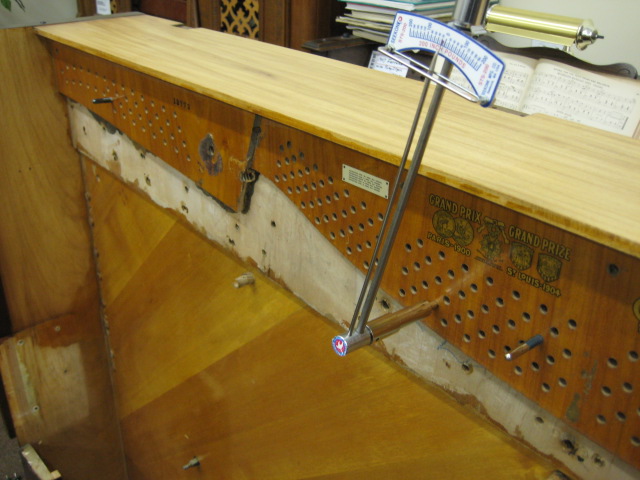
Testing with inch-pound torque wrench the fit of the new tuning pins.
![](https://www.pianosnthings.com/images/baldwin13372_27.JPG) 
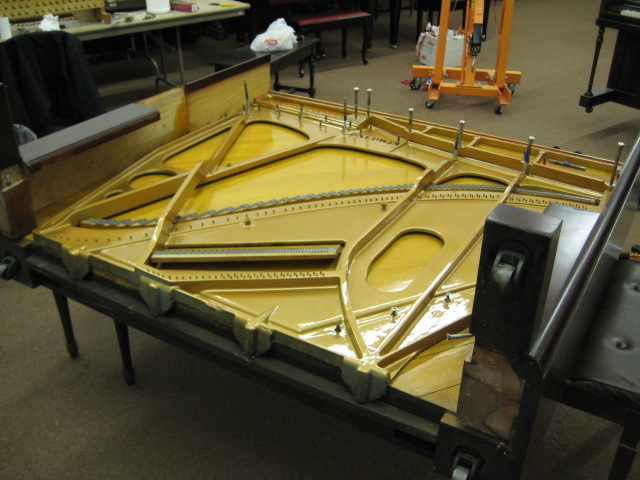
Cast iron plate is back from the refinish shop.
![](https://www.pianosnthings.com/images/baldwin13372_28.JPG)
Understring felting starting to look nice.
![](https://www.pianosnthings.com/images/baldwin13372_30.JPG)
![](https://www.pianosnthings.com/images/baldwin13372_31.JPG)
![](https://www.pianosnthings.com/images/baldwin13372_32.JPG)
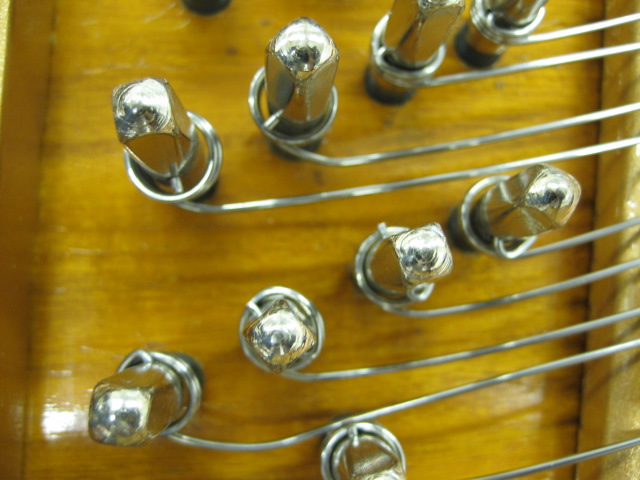
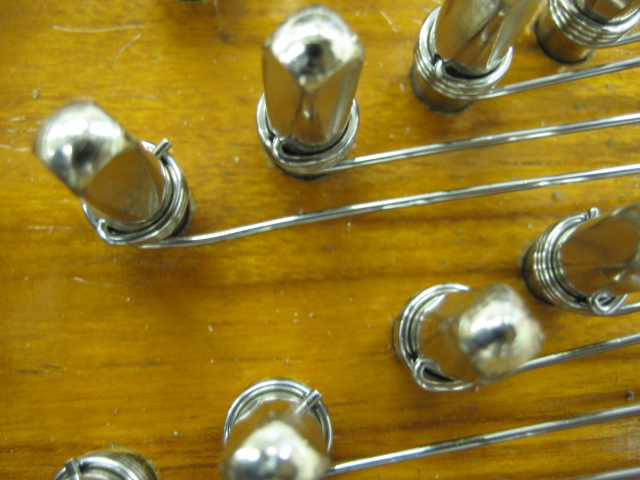
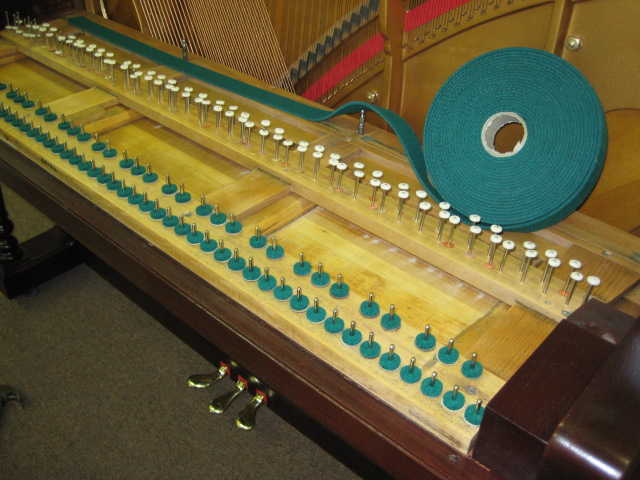
3 1/2 coils of new wire on each tuning pin
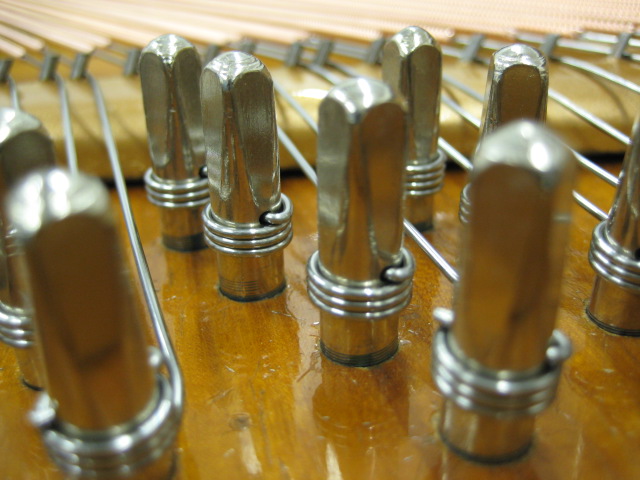
Notice that the beckett in about the same position along the tuning pin row The wire coils are pulled up tight to each other Nickel plated tuning pins are driven in to the pinblock uniform depth
![](https://www.pianosnthings.com/images/baldwin13372_35.JPG)
![](https://www.pianosnthings.com/images/baldwin13372_36.JPG)
![](https://www.pianosnthings.com/images/baldwin13372_37.JPG)
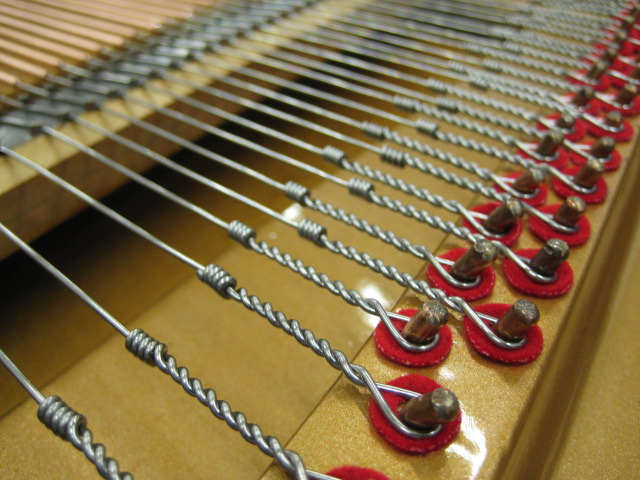
Bass strings are installed after treble strings - over top of treble strings
![](https://www.pianosnthings.com/images/baldwin13372_39.JPG)
The non soundboard lower right corner looks like 2x6 boards - unsightly it is.
Thin veneered wood overlaying the 2x6 look. Glue clamps below along non screw side.
![](https://www.pianosnthings.com/images/baldwin13372_42.JPG)
![](https://www.pianosnthings.com/images/baldwin13372_43.JPG)
![](https://www.pianosnthings.com/images/baldwin13372_44.JPG)
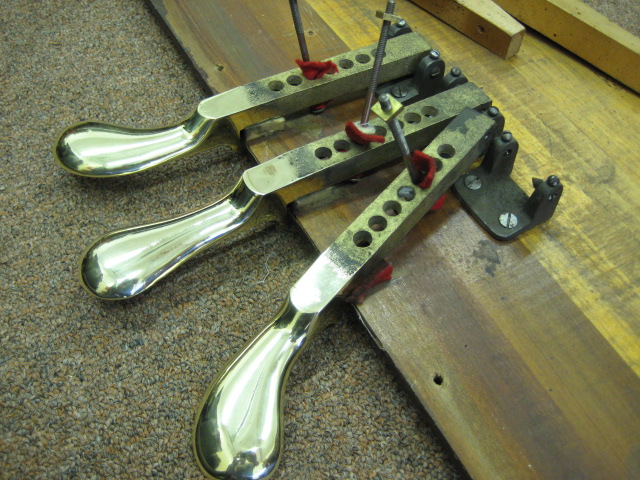
Original brass pedals are polished to a gorgeous shine.
![](https://www.pianosnthings.com/images/baldwin13372_46.JPG)
Top of leg mounting guides
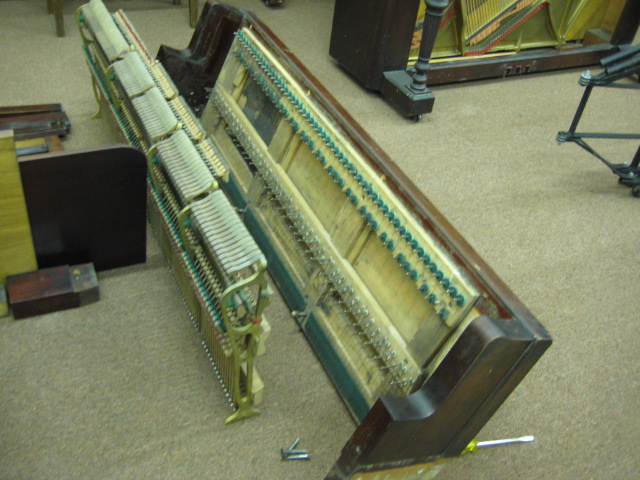
Key frame is removed, cleaned, refinished
![](https://www.pianosnthings.com/images/baldwin13372_48.JPG)
New felt punchings and back key rest felt is installed on key frame.
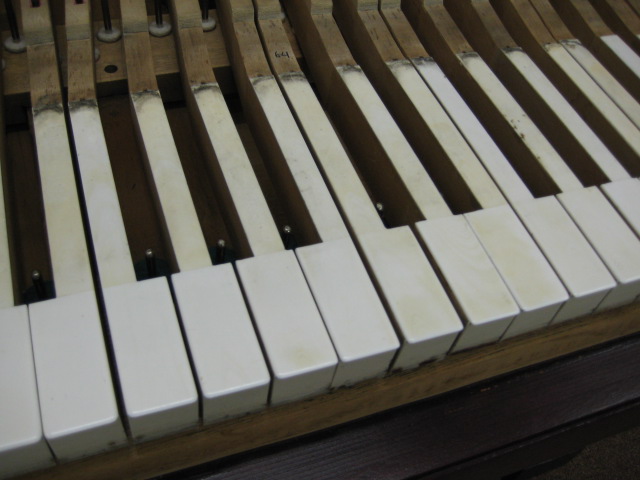
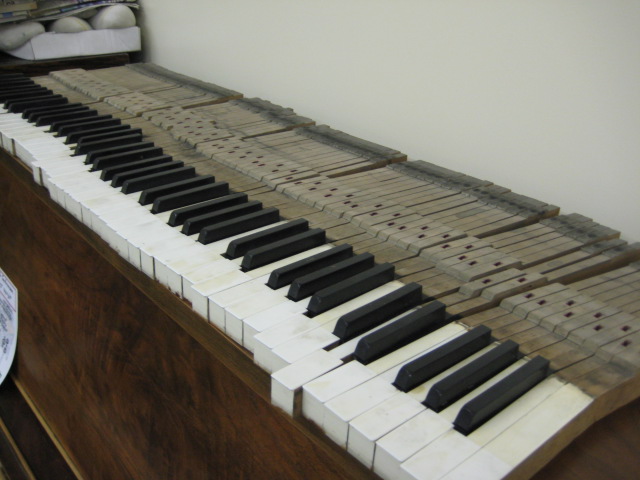
Keys before restoration - Snaggle toothed, yellowed and dirty.
![](https://www.pianosnthings.com/images/baldwin13372_53.JPG)
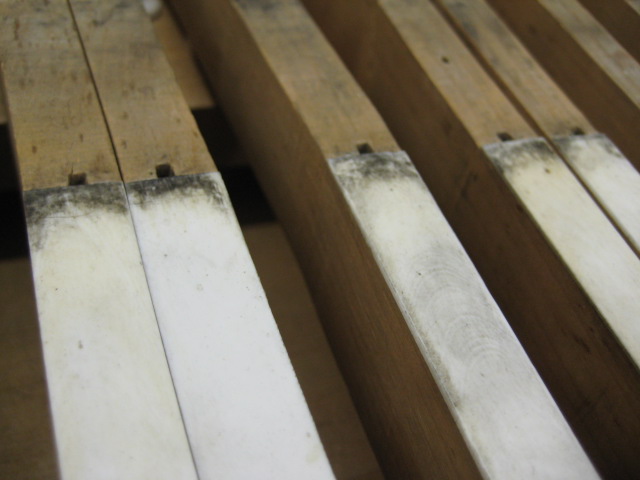
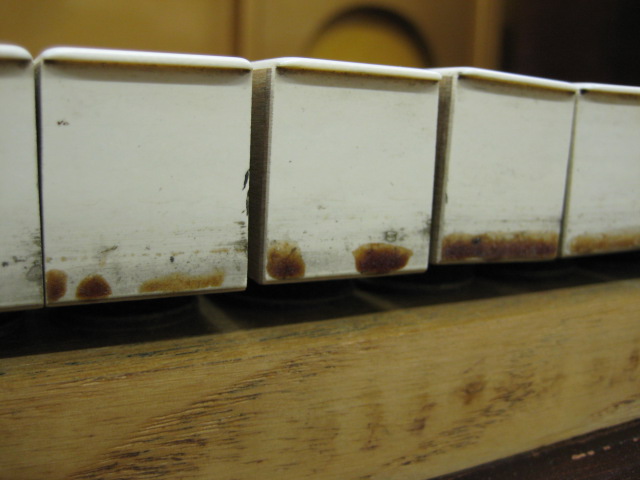
Warping and uneven gapping of keys must be repaired.
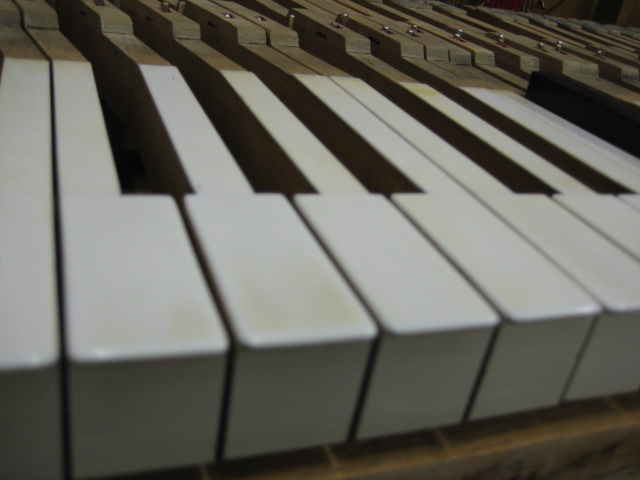
Keys straightened, leveled, and cleaned.
Old hammers are removed from the action
![](https://www.pianosnthings.com/images/baldwin13372_57.JPG)
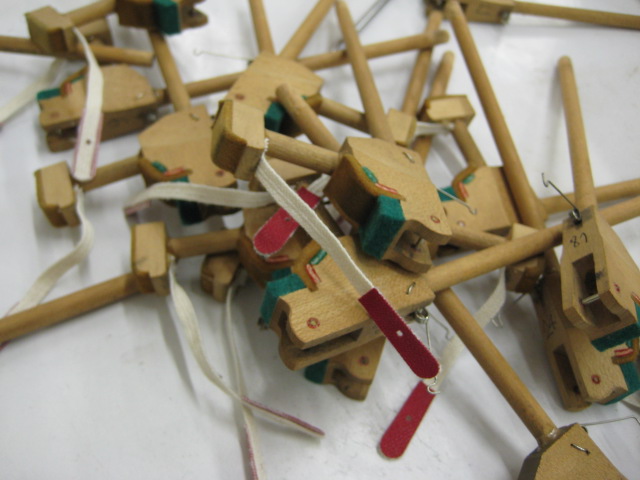
The action is dismantled. New bridle straps are glued on hammer butts
![](https://www.pianosnthings.com/images/baldwin13372_59.JPG) 
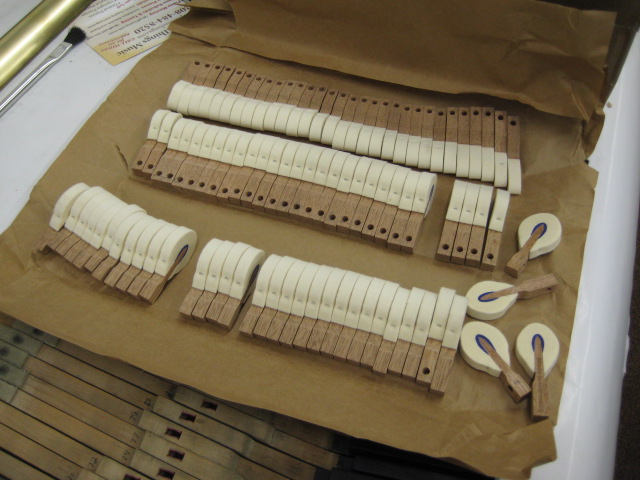
Set of new hammers, boring and sizing preparation prior to installation.
![baldwin13772final004.JPG baldwin13772final004.JPG](https://www.pianosnthings.com/images/baldwin13772final004.JPG) 
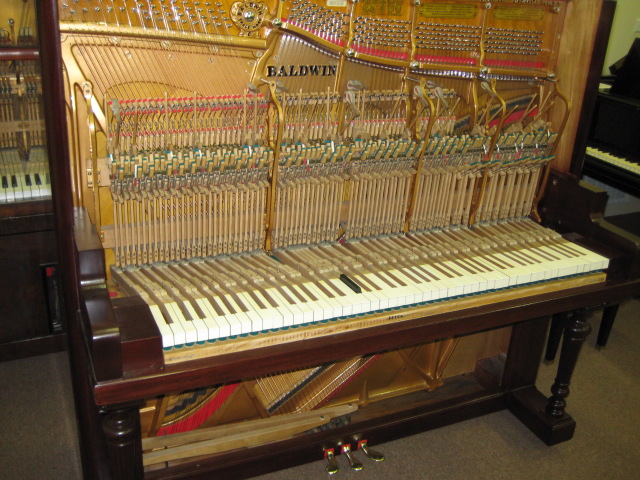
This piano sounds as nice as it looks - LIKE A NEW PIANO.
![baldwin13772final003.JPG baldwin13772final003.JPG](https://www.pianosnthings.com/images/baldwin13772final003.JPG)
![baldwin13772final002.JPG baldwin13772final002.JPG](https://www.pianosnthings.com/images/baldwin13772final002.JPG)
![baldwin13772final001.JPG baldwin13772final001.JPG](https://www.pianosnthings.com/images/baldwin13772final001.JPG)
|